How to save tomato seeds for next season
How to extract, clean, dry and store tomato seeds for sowing again: a simple process with daily observation and tips for keeping them.
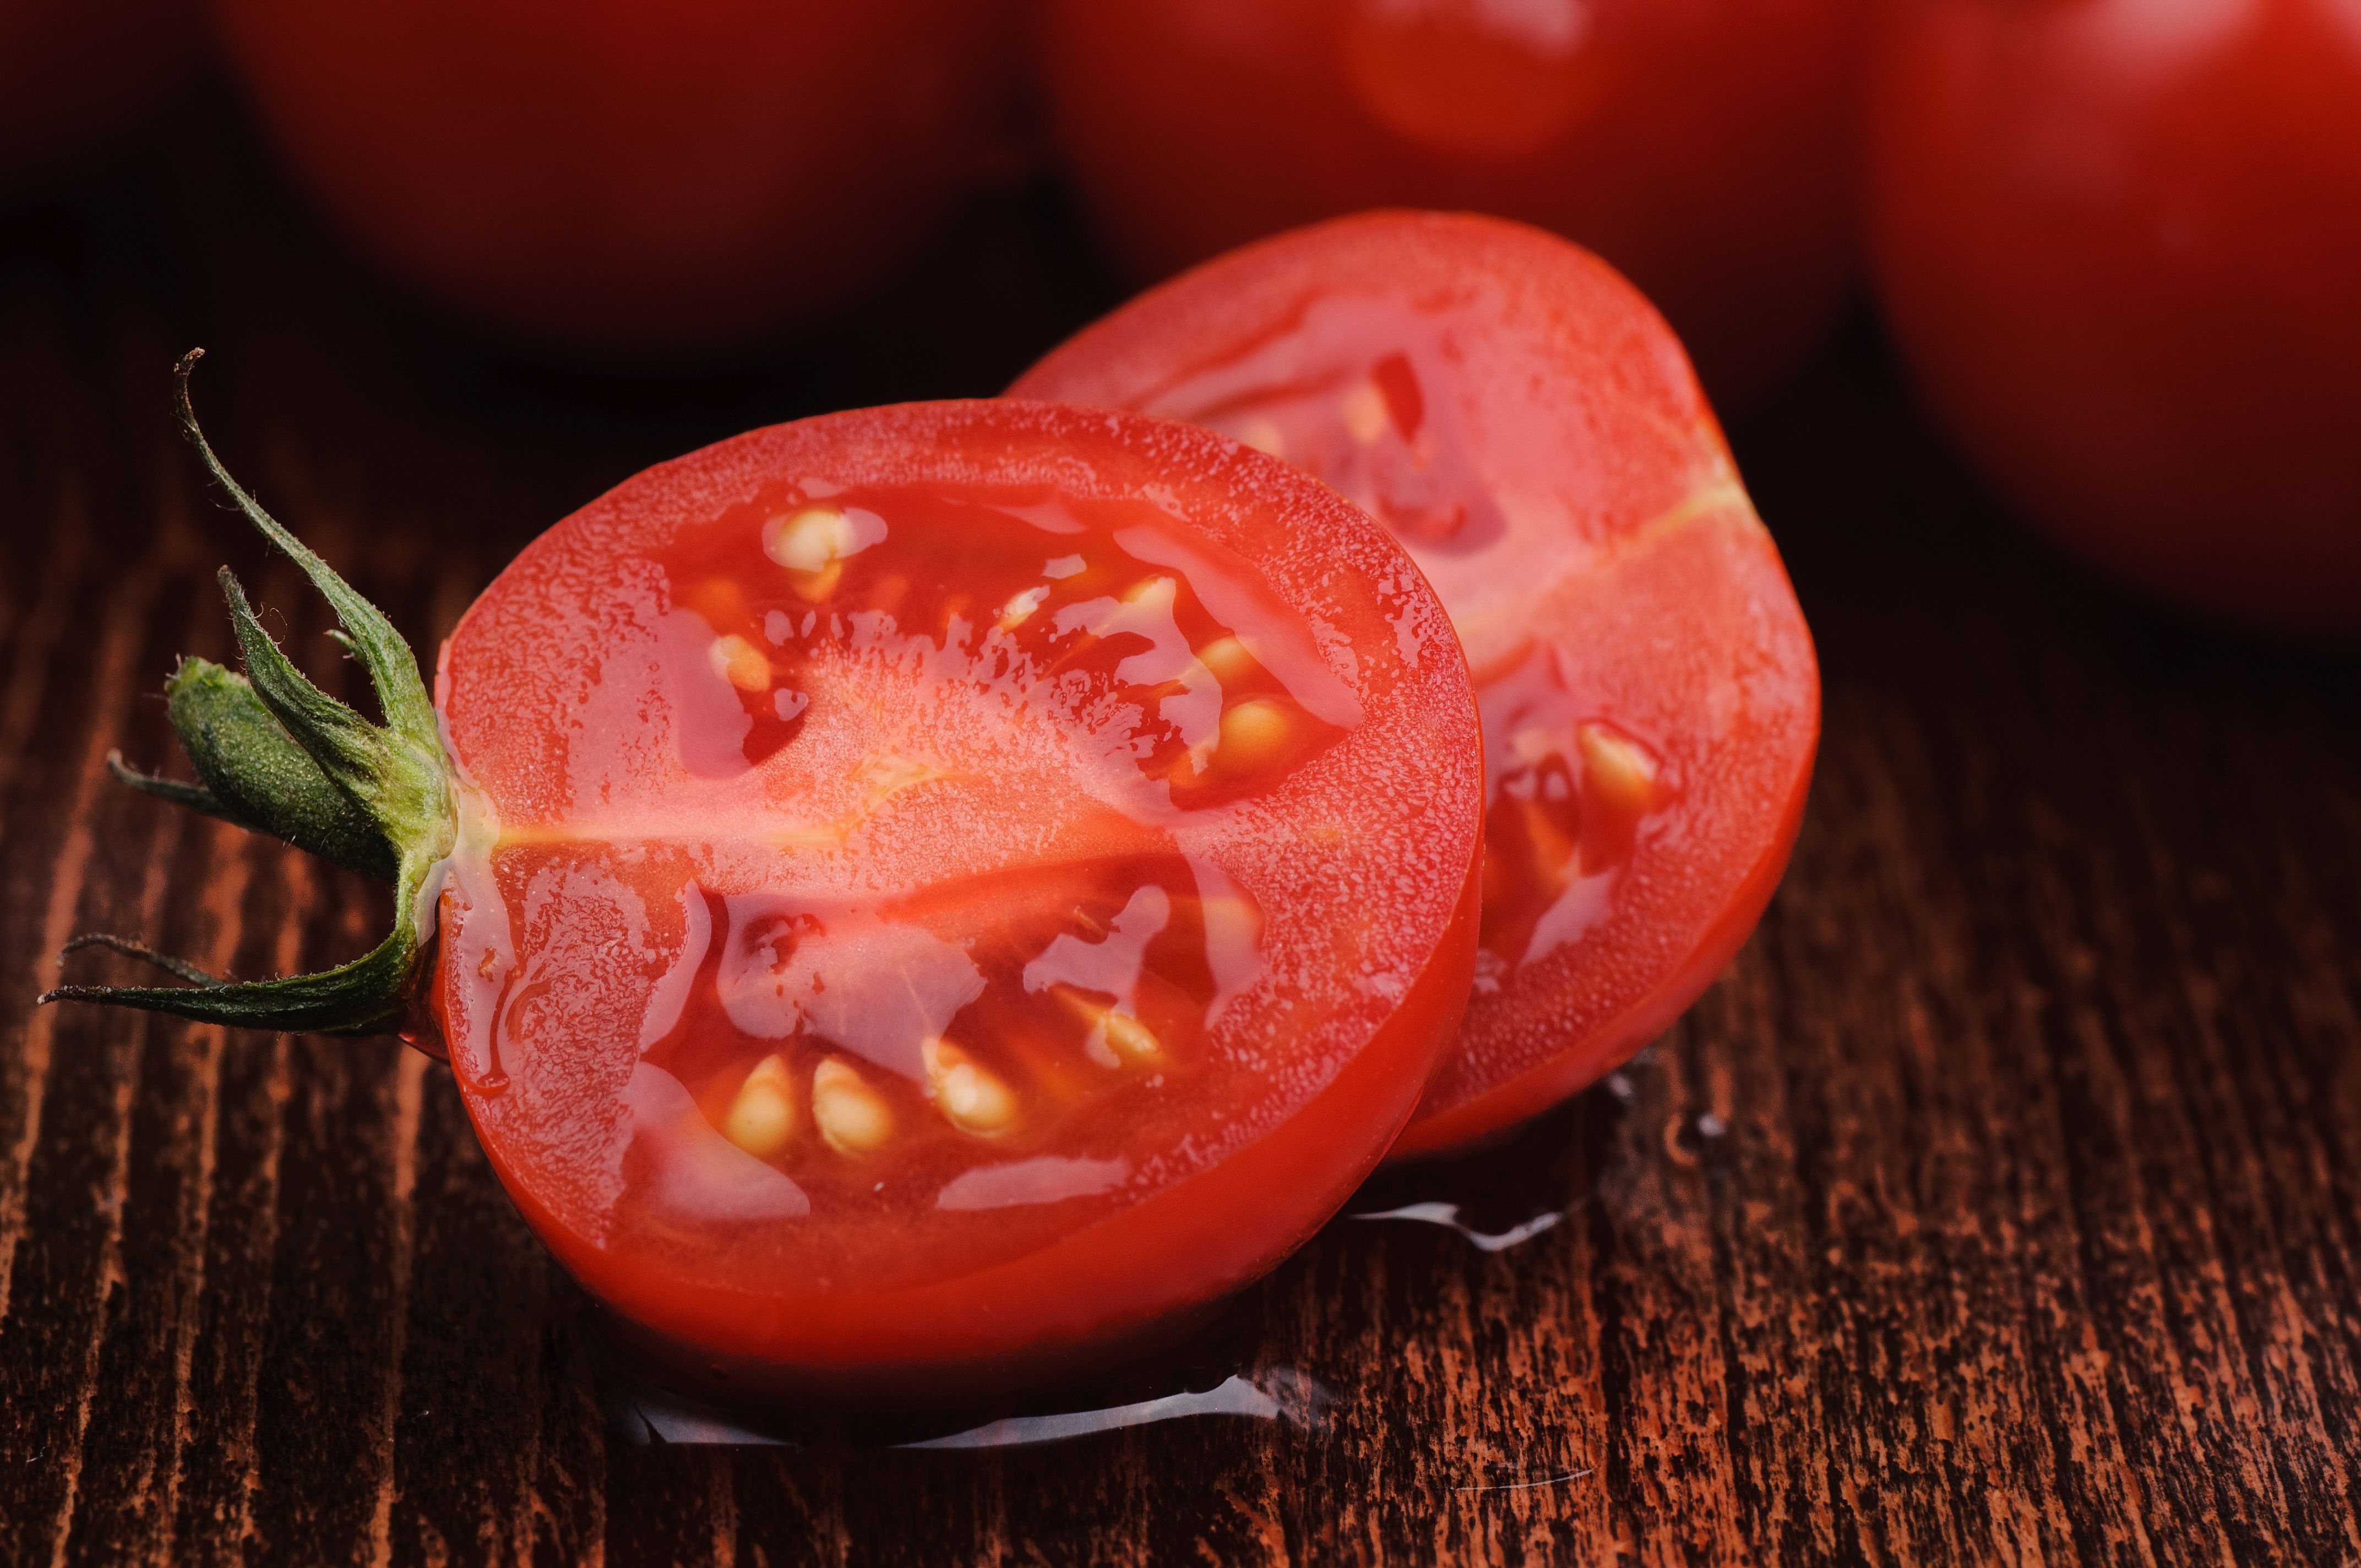
Some tomatoes make you want to find them again: for their flavor, how well the plant grew or the joy of harvesting them at home. Saving their seeds is a way to continue that story next season.
To do it, we need to extract them, remove the gelatinous coating and let them dry thoroughly before storage. It is a simple task, the kind that takes only a few materials and a little attention.
Choose a tomato you want to grow again
Choose a fully ripe, healthy tomato that represents what you liked about that plant. If it comes from your garden, you can also consider its yield and how it developed during the season.
Knowing the variety and origin gives us more information about what to expect. If seeds come from a hybrid tomato or one of unknown origin, we can experiment: we do not know in advance how they will germinate or what characteristics their fruits will have. Being hybrid does not mean they cannot germinate.
I even tried a seed from a canned plum tomato, and it germinated. That experience left us wanting to keep experimenting.
Why the seeds are left to ferment
When you cut the tomato, you will see the seeds surrounded by a gelatinous substance, the mucilage. A brief fermentation helps loosen that coating and makes cleaning easier when preparing seeds for storage.
You do not need to set aside the whole tomato: you can remove the seeds and use the rest in the kitchen.
1. Extract the seeds
Cut the tomato and scoop out the seeds with a teaspoon, together with the surrounding gel and juice.
Put them in a clean glass or jar and add a little room-temperature water. Label the container if you are working with different varieties.
2. Let them stand and check every day
Leave the container in the shade, protected from direct sun, and gently stir the mixture each day.
The process does not always take the same amount of time. We have seen the mucilage come off quickly on some occasions and take several days on others. That is why it is worth checking the mixture daily and observing how the coating loosens instead of following a rigid schedule.
The University of Minnesota guide describes fermentation that can be completed within five days. That offers guidance, but does not mean waiting until day five if the seeds are already ready to clean.
To check, take out a few seeds with a teaspoon and rinse them. If the gel comes off easily, you can move on to washing. If it is still firmly attached, check again the next day.
You do not need to watch the container constantly, but do look at it each day. Do not forget it for two days in a row: check how the mucilage loosens and, when the seeds are ready, move on to rinsing and drying.
A film of mold may appear on the surface during fermentation; that alone does not mean the seeds have been ruined. What we want to avoid is prolonging the process without observing what is happening. In the method we use, if some material is still attached, we can give an intermediate rinse and check again.
Once the gel comes off, continue cleaning: longer soaking offers no advantage. If a seed starts producing a tiny root, it is already germinating and cannot be dried and stored like the others.
3. Strain and rinse
Pour the mixture into a fine-mesh strainer and rinse with clean water, using a gentle flow so the seeds do not jump out.
You can move them with your fingertips and rub them delicately against the mesh to help remove the gel. There is no need to squeeze or scrape them.
Keep rinsing until they are clean, without significant remains of pulp or mucilage.
Clean them today to make the next sowing easier
Some people dry seeds directly with their gel and get them to germinate. Here, we choose to remove the mucilage and rinse them so they are clean, separate and easier to handle in storage.
I have received seeds from growers on a paper napkin inside an envelope, with bits of tomato still attached. When sowing time comes, you have to detach them carefully to avoid damage or losing any in the process.
That is why we use absorbent paper to remove excess water, then spread the seeds on a surface from which we can easily lift them. A fine mesh or a coffee filter are options for drying.
That small cleaning task pays off the following season, especially when we save just a few seeds from a tomato we loved and cannot easily find again.
4. Remove excess water and let dry
Transfer the seeds to absorbent paper to remove excess water. Then spread them as separately as possible on dry paper or a clean surface from which they can easily be removed.
Leave them in a ventilated place, in the shade and away from direct heat. Replace the paper if it becomes damp, and gently separate any small clumps.
Absorbing the rinse water is only the beginning: seeds must dry completely before storage. The time depends on ambient humidity and how they are spread out.
5. Store and label
Once thoroughly dry, put them in a paper envelope. You can place the envelopes inside a tightly closed jar to protect them from moisture, in a cool, dry place.
Write down the date, variety and origin. If you do not know the name, a description also helps: “red cherry from the patio” or “the tomato from that toast I loved.”
It seems impossible to forget now, but when next season arrives and you have several seed envelopes, will you remember which was which? Do not leave all the work to your memory: the details you write today will help next year.
Cleaning, drying and cool, dry storage are all part of caring for seeds until the next sowing.
Is it the same for hanging tomatoes?
Yes, the basic process is the same. Choose ripe, healthy fruits and keep the variety identified.
If these tomatoes interest you, in “Hanging tomatoes: from toast in Spain to a question for our garden” we explain how a reader introduced us to them and what allows their fruits to keep for months.
From one tomato to the next harvest
Saving seeds also means paying attention to what we liked and giving it a chance to continue. A small envelope can hold the memory of a harvest, an exchange or a shared meal.
Do you save seeds from your tomatoes? Is there a variety you sow again every year? Tell us where in the world you grow and how you do it.
To keep going with your garden
If you want to add other crops, you can explore this seed assortment. And for sowing and transplanting, this gardening kit may help.
These are affiliate links: if you buy through them, Qué Plantar may receive a commission.
Related Articles
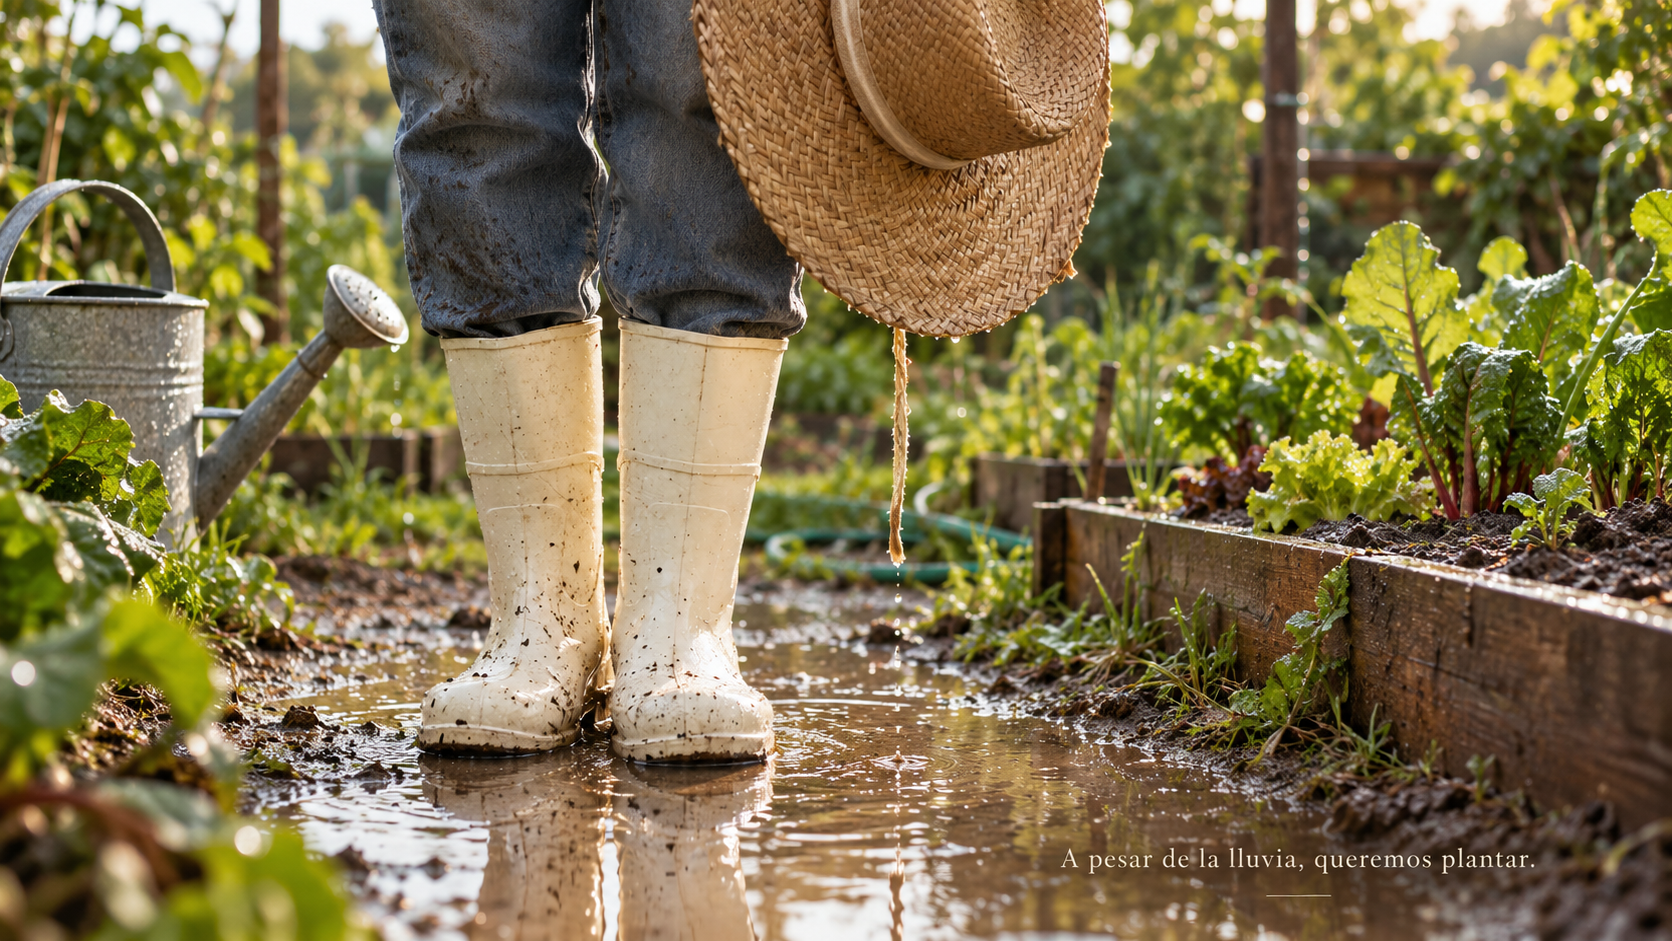
When the vegetable garden has too much water: growing without drowning the roots
Soil can be fertile and full of life, yet remain too wet for certain crops. The solution is not always improving the growing medium: sometimes we need to change how we grow.

Do you know what a seed needs to wake up and grow?
Water, temperature, air and proper sowing: understand what a seed needs to germinate and how to support its first days.
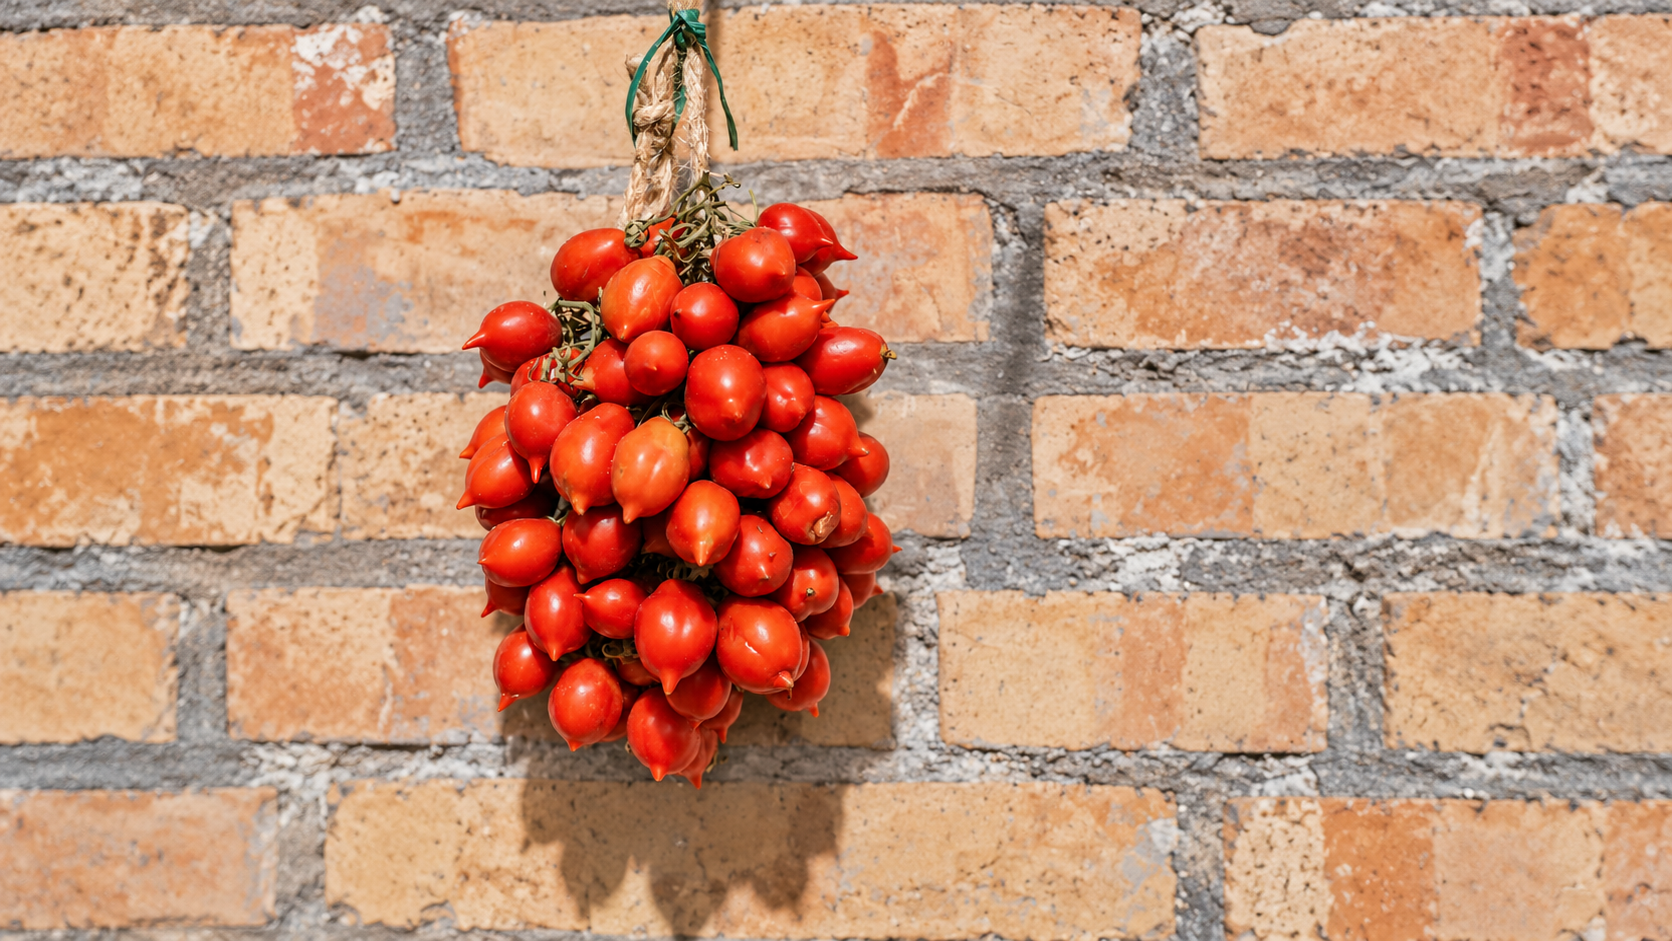
Hanging tomatoes: from toast in Spain to a question for our garden
A reader in Spain introduced us to penjar tomatoes: how they are stored, what makes them different and what growing them can teach us.
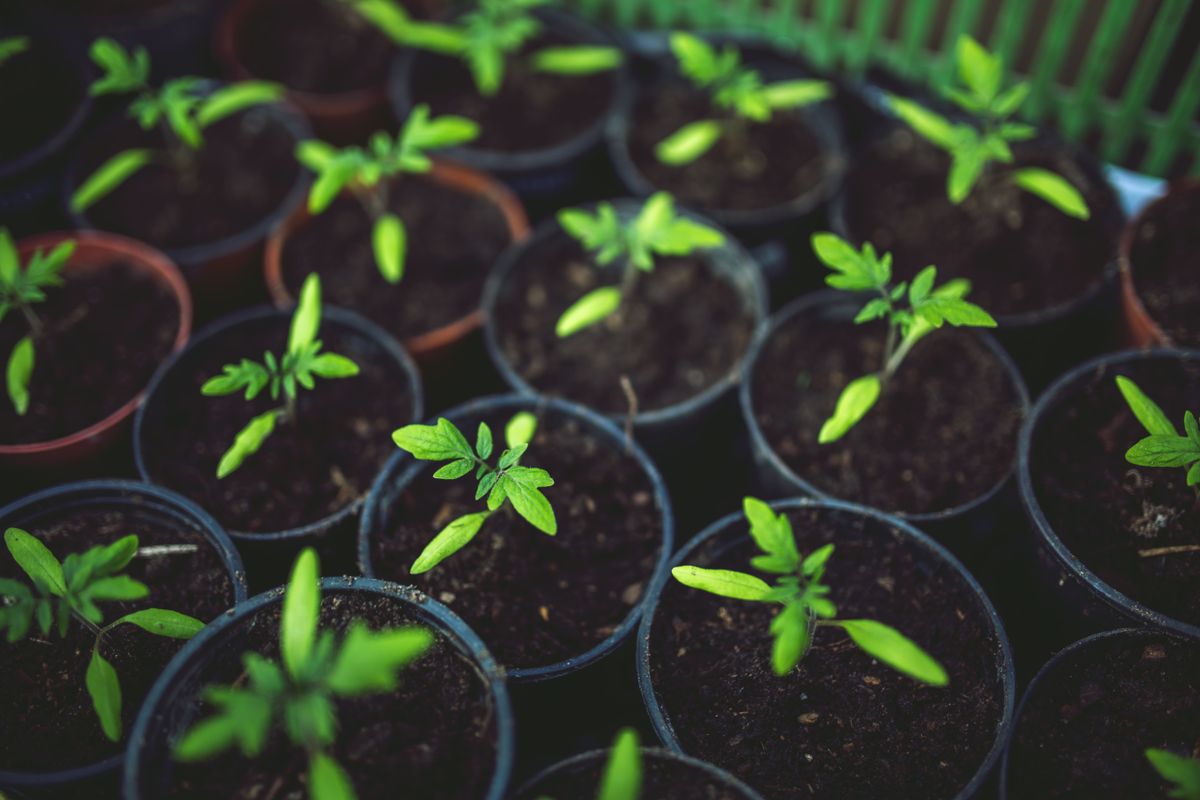
How to Transplant Tomatoes in Spring
Before transplanting tomatoes in spring, check frost risk, seedling readiness, support, growing space and how to move the plant into its final place.